


ploi.io is a one-click deploy tool for your projects, making deploying and updating your application a breeze, taking all the DevOps load from your hands while you can happily focus on the coding.
Installation
To get started deploying your application, visit Ploi's getting started page about server installations. Typically, soketi runs on Ubuntu without issues, and Ploi can deploy your applications in Ubuntu environments, so out-of-the-box, you can also install soketi.
Installing with Marketplace
Assuming your application is already deployed, you can use the Ploi Marketplace script for soketi. By clicking "Copy Over", Ploi will automatically copy the script to your "Scripts" section where you can 1-click run on your instances.

Manual Installation
In case you want to manually install it by SSHing into the instance, you can use the following script:
#!/bin/bash

# Install soketi via NPM CLI
npm install -g @soketi/soketi@latest

# You can also install specific versions
# npm install -g @soketi/[email protected]

# That's it.
# You should create a supervisord process that runs the following command:
# soketi start

# To configure your project to use the backend and the frontend Pusher clients with soketi, please read the documentation:
# https://docs.soketi.app
Or simply:
npm install -g @soketi/soketi@latest
In some cases, the script cannot run with the Ploi user, so you will need root access to install the package globally.
Setting up Supervisor
You can verify if soketi installed on the machine:
soketi --help
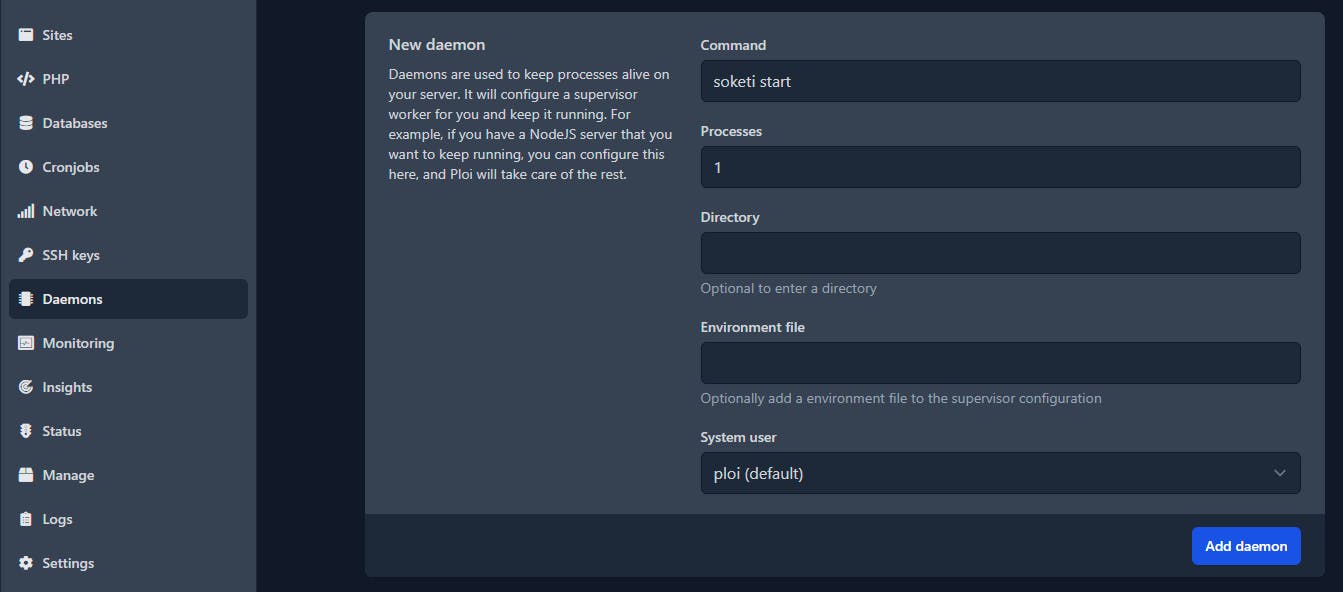
Next up, you need to set up a Daemon (supervisord process) for soketi, so that it can keep running in the background, even if it crashes or the server restarts.
From the server view, you may check the "Daemons" section where you specify the soketi start command to run:
You can check if the process runs successfully by tapping into the logs:

As you can see in the next screenshot, the logs show a successful run:

Opening the port to the internet
The last thing to do is to open the soketi port to the internet. By default, soketi runs on port 6001. You need to open this port to the internet, by adding a TCP firewall rule:
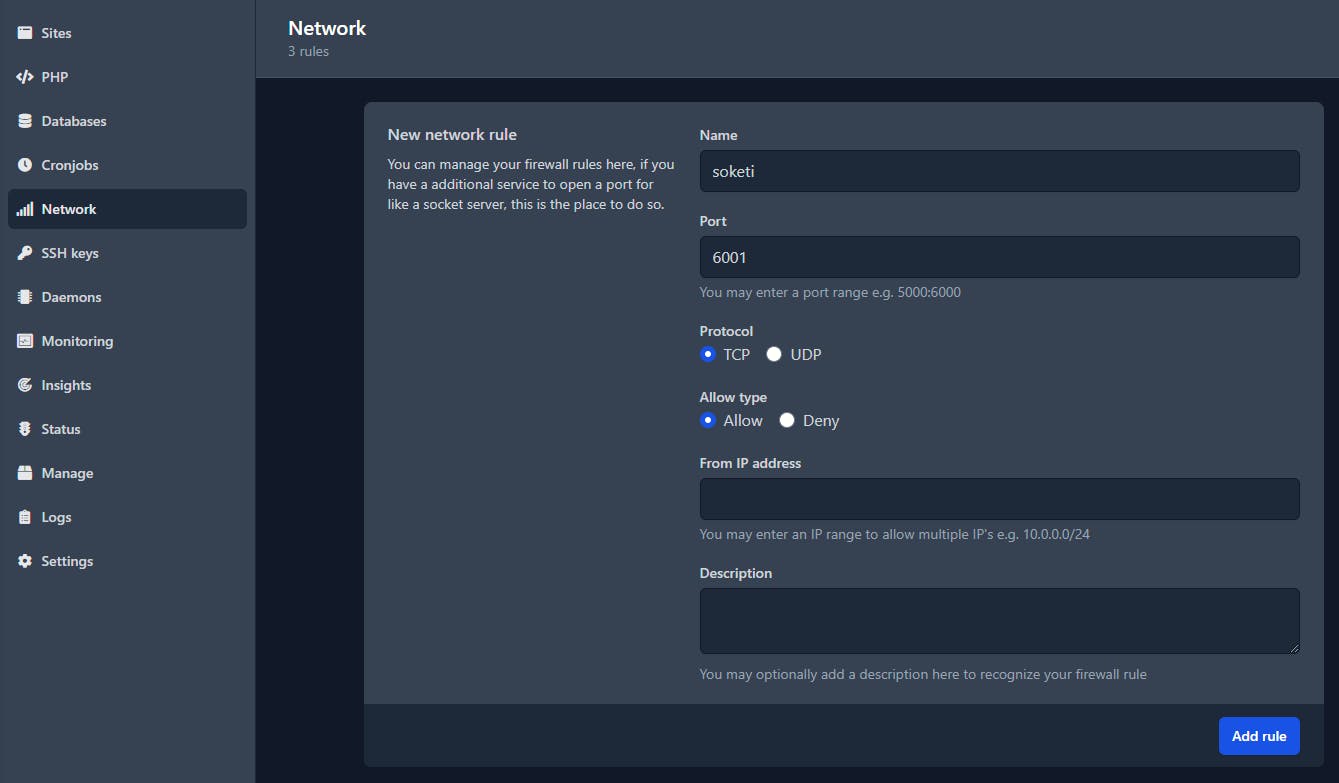
By accessing [server-ip]:6001, you should see an OK response from the server.
Connecting to Soketi
You just finished step 1 by installing Soketi on a managed instance on Ploi, but there are much more features to discover.
The next steps would be connecting to soketi with the frontend application and broadcast events and monitor your channels with the backend application. Your journey with real-time has just begun. 📡